Working with vector graphics in Illustrator or Sketch is easy, and creating crisp and inifinitely scalable artwork has huge benefits. When those assets are destined to live online, however, there are a few gotchas and processes to be aware of that will help these vectors live in a pixel-based environment—namely the screen.
Scalable Vector Graphics (SVG) is an XML-based vector image format for two-dimensional graphics with support for interactivity and animation. The SVG specification is an open standard developed by the World Wide Web Consortium (W3C) since 1999. SVG images and their behaviors are defined in XML text files.
Advantages of SVG1:
- SVG is text-based (XML)
- SVGs have very good browser support
- SVGs have built-in graphics effects
- SVG text is searchable and selectable
- SVGs are accessible
- SVGs are styleable and interactive
- SVG is easy to learn
Even with an extensive list of advantages, there are still many cases where SVG isn’t the best choice. While SVG is ideal for vector-based graphics, bitmaps are still better suited for continuous tone images. Photographs are raster by default, so it’s best to treat them as such for the web.
An SVG graphic may also contain graphical effects like gradients, drop shadows, glows, and similar advanced effects. But using too many effects in an illustration may increase your SVG’s size so much that a raster graphic would be preferable. - Sara Soueidan
Lastly, even though a graphic may comprise of lines and flat shapes, if it is a complex illustration it still may be best to use a png. In the end it’s best to test when in doubt or starting a new project, like a series of spot illustrations, to know exactly what will lend the best results that balance between performance and quality.
The Process
1. Utilize artboards and a grid
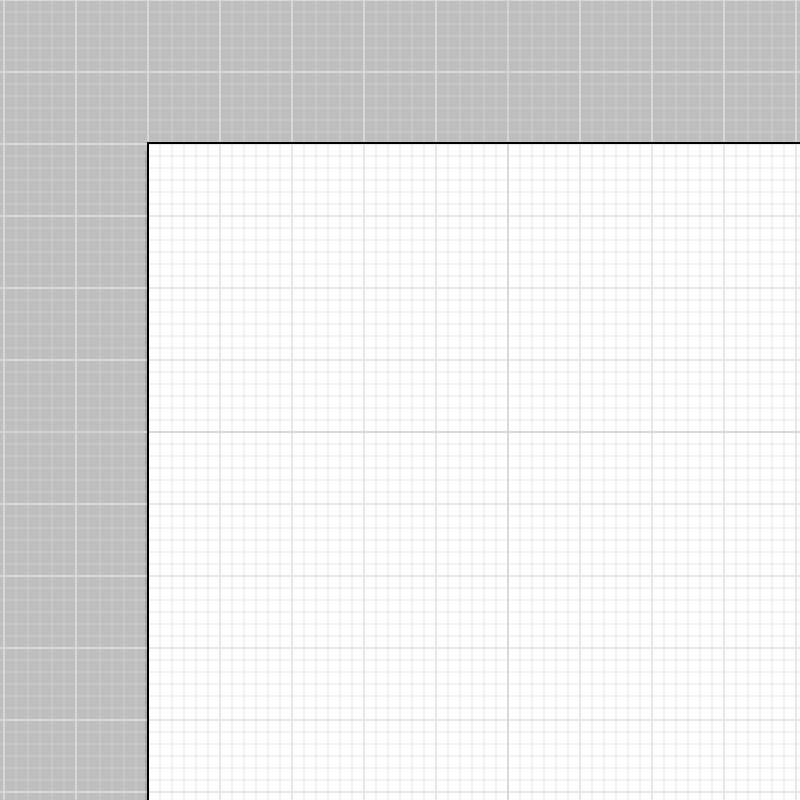
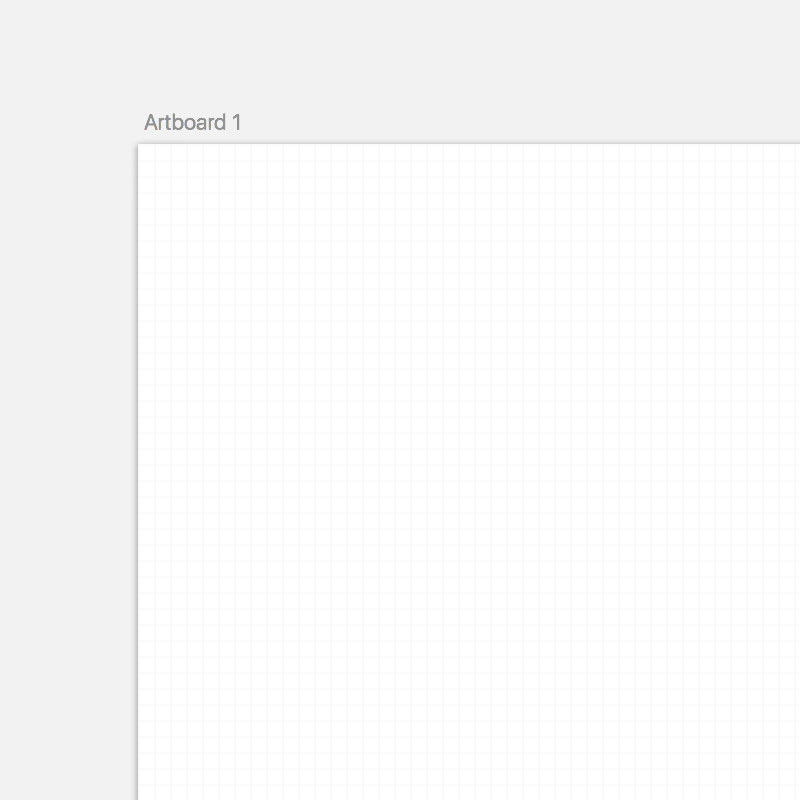
When starting a new project create artboards that fit to the drawing. Often you’ll know ahead of time what dimensions you’re working with, but in the instances when you don’t, both Illustrator and Sketch can fit the artboard to the selected objects. In Illustrator select your artwork and go to Object → Artboards → Fit to Selected Art. In Sketch select your artwork and go to Insert → Artboard and then in the right panel choose the first option, Around Selection.
If you ever end up with a SVG that has extra whitespace odds are that the artboard wasn’t fit to the drawing. Sometimes this is intentional, for example you may be creating an icon font which requires a consistent pixel grid, but the characters themselves are different dimensions. Or maybe you need graphics to align horizontally, taking up the same amount of vertical space, in which case you could include the whitespace in the SVG instead of creating single-use CSS classes to adjust spacing.
Even though we’re working with vector, you still need to keep in mind that the end result will be presented in an environment based on pixels (the screen) and that means you’ll want to make sure you’re using a pixel grid for fine tuning—more in the next step.
2. Subpixel antialiasing
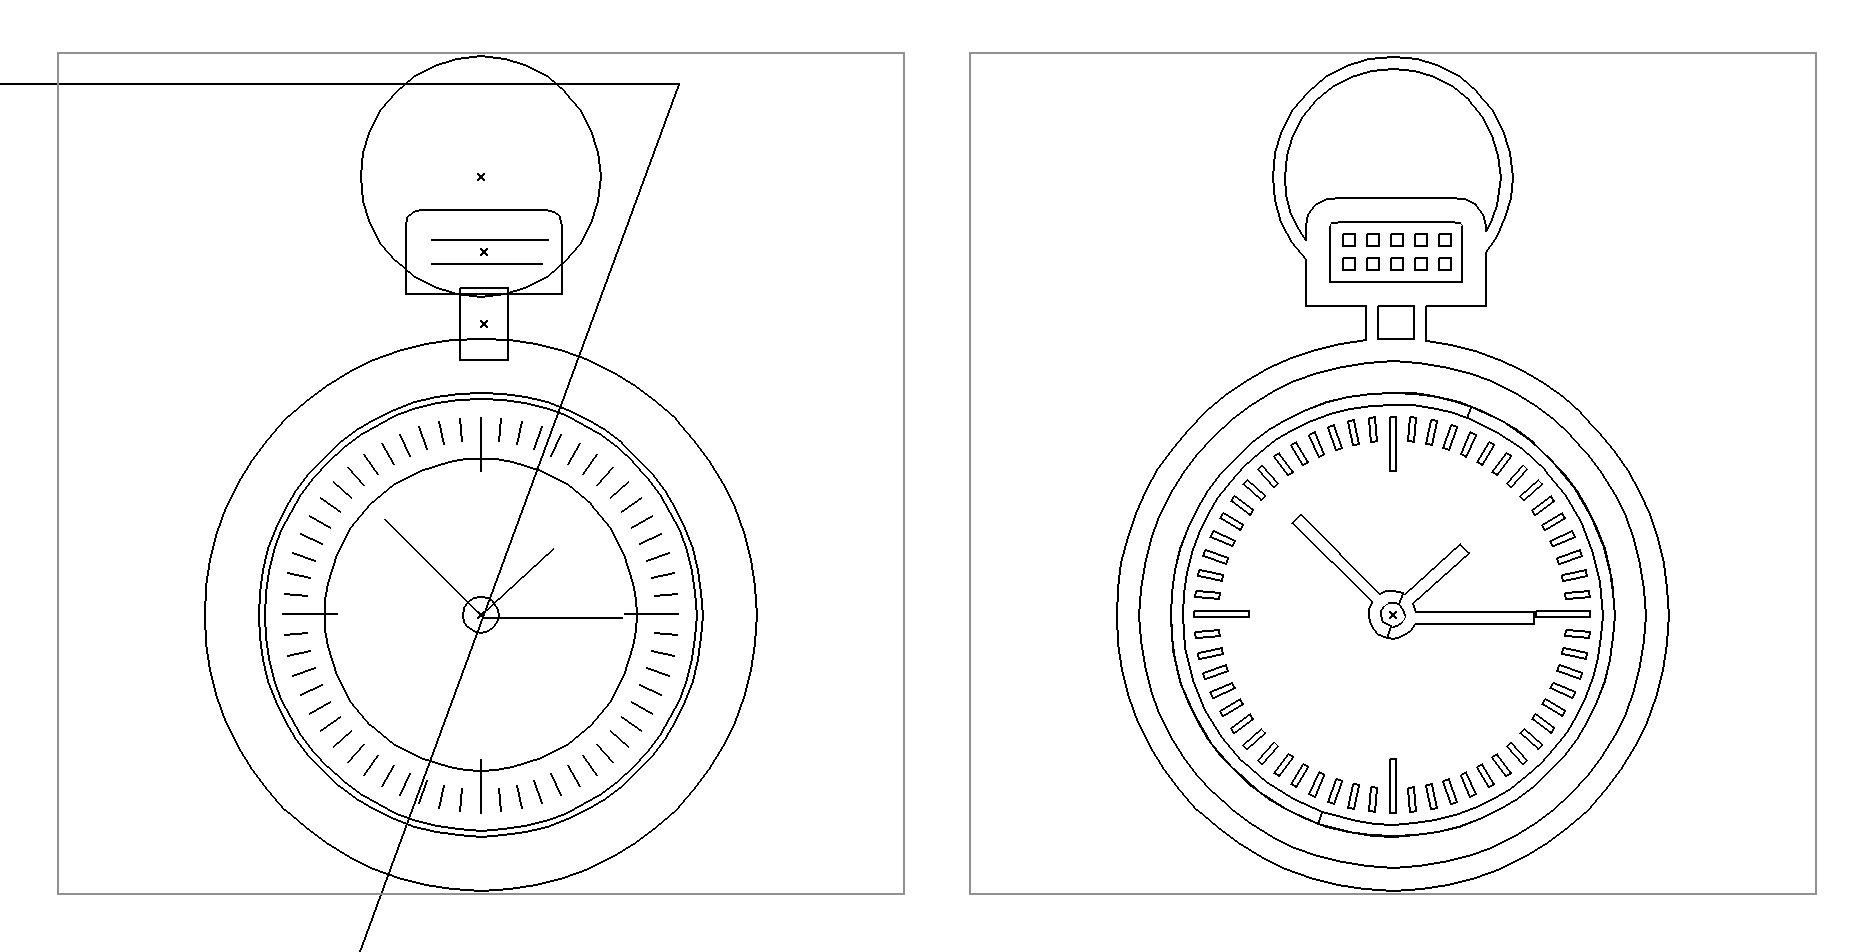
In most cases we want our graphics to appear as crisp and quality as possible. If you remember when pixel fonts were popular you’ll recall how important it was to align to a pixel to avoid the characters appearing blurry. The same applies when elements within a graphic need to appear crisp. The key is to use whole values (i.e. 3 vs 3.257) and align to the pixel grid. Special consideration should be given for lines, icons and fine details.
Take a look at some of the details on the left graphic above. Notice how much clearer they are than their counterpart on the right? This is because they’re aligned to the grid. One last point before moving on, both of these views are using the pixel preview. In Illustrator View → Pixel Preview and in Sketch View → Canvas → Show Pixels.
3. Combine shapes and outline strokes
Decisions should be made on how you plan on using the resulting graphic at this point too (likely they’ve already been determined). Will it be animated? Will you need to style different elements within the SVG once you place it on your site? Depending on how you answer those questions will also detemine what approach you need for optimizing. Perhaps you’ll still need shapes separated or strokes left as such.
At this stage I also like to make a duplicate of the graphic in the instance that I need to go back and make changes later. In many cases certain optimization techniques cannot be undone later, like changing a shape back into a stroke or separating combined shapes.
The more you can combine shapes and simplify paths the less code is needed to define them, leading to smaller file sizes. Additionally to keep things consistent it may be recommended to vectorize strokes Object → Expand Appearance or in Sketch Layer → Convert to Outlines.
In the comparrison below you can see the original graphic on the left and the optimized graphic on the right in Illustrator’s Outline view, View → Outline. Both appear the same in the regular view, but in the one on the right strokes have been outlined and shapes have been combined. It should be noted that you could also convert any type to outlines, but that’s optional since you can do that in the export settings.
4. Labeling
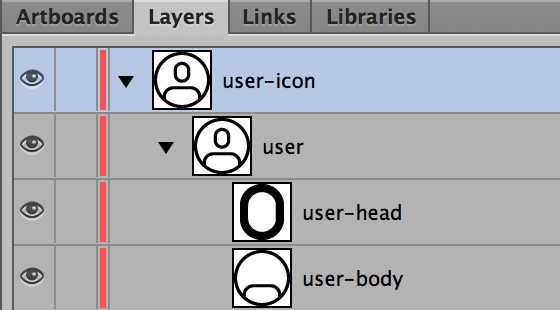
Regardless of the authoring app you’re using labeling your layers and groups will save you work later. Since SVG is text-based the labeling you do during authoring is translated into IDs in the SVG code. Setting up a good naming structure and patterns up front will help a great deal when it comes time to use CSS and JavaScript to address the SVG.
Look at the layer names in the Illustrator image below and match them to the IDs in the SVG code to see how the labeling translates.
<svg id="user-icon" xmlns="http://www.w3.org/2000/svg" viewBox="0 0 20.14 20">
<title>User Icon</title>
<g id="user">
<path id="user-body" d="M10.07,1a9,9,0,1,0,9,9A9,9,0,0,0,10.07,1ZM4.86,16.13V15.31A2.45,2.45,0,0,1,7.43,13h5.29a2.45,2.45,0,0,1,2.56,2.35v0.82A8,8,0,0,1,4.86,16.13Zm11.36-.94A3.4,3.4,0,0,0,12.72,12H7.43a3.4,3.4,0,0,0-3.5,3.18A8.05,8.05,0,1,1,16.22,15.2Z"/>
<path id="user-head" d="M10.07,4.2A2.59,2.59,0,0,0,7.47,6.7V8.33a2.61,2.61,0,0,0,5.21,0V6.7A2.59,2.59,0,0,0,10.07,4.2Zm1.66,4.13a1.66,1.66,0,0,1-3.32,0V6.7a1.66,1.66,0,0,1,3.32,0V8.33Z"/>
</g>
</svg>
5. Exporting
If you‘re using Adobe Illustrator you can follow this excellent guide(external link) they created. And if you‘re using Sketch just make sure you have the official SVGO Compressor extension(external link) installed. In either case follow your preferred app’s export workflow for exporting SVG assets @1x.
6. Optimization
Even after Illustrator or Sketch is done exporting your SVG assets there’s still opportunity to further optimize the SVG code. SVGs can contain extra and redundant code that will result in a larger file. Much of this can be removed without being destructive to the visual appearance of the graphic.
There are a few standalone methods for optimization and you can take a look at what works bet for your workflow.
SVGO Gulp Plugin
SVG Optimizer(external link) (SVGO) is a Node.js-based tool for optimizing vector graphics files. It is also available as a Gulp plugin(external link) where it could be used in a build process to batch optimize SVGs. Make sure you refer to the settings as there’s no GUI to view the output and many settings could break your SVG
SVGOMG
If you’re not comfortable with command line operations you can use a web-based GUI tool called SVGOMG(external link) that was created by Google’s Jake Archibald. Using the tool you can visually see the impact of different optimization settings and download the resulting, optimized graphic. The only downside of a tool like this is the inability to do more than one graphic at a time.
7. Accessibility
- Within the SVG code add
titleanddesc(optional) elements. They must be the first nested items within theSVG - Add unique ID’s to the
titleanddesc, e.g.<title id="uniqueTitleID">SVG Title</title> - On the
<svg>add anaria-labelledby="uniqueTitleID uniqueDescID"attribute - Lastly, on the
<svg>addrole="img"to prevent browsers from traversing the SVG
Read the CSS Tricks post on accessible SVGs(external link)
Example
<svg id="user-icon" xmlns="http://www.w3.org/2000/svg" viewBox="0 0 20.14 20" aria-labelledby="userTitle userDesc" role="img">
<title id="userTitle">User Icon</title>
<desc id="userDesc">A universal icon to represent a human user</desc>
<g id="user">
<path id="user-body" d="M10.07,1a9,9,0,1,0,9,9A9,9,0,0,0,10.07,1ZM4.86,16.13V15.31A2.45,2.45,0,0,1,7.43,13h5.29a2.45,2.45,0,0,1,2.56,2.35v0.82A8,8,0,0,1,4.86,16.13Zm11.36-.94A3.4,3.4,0,0,0,12.72,12H7.43a3.4,3.4,0,0,0-3.5,3.18A8.05,8.05,0,1,1,16.22,15.2Z"/>
<path id="user-head" d="M10.07,4.2A2.59,2.59,0,0,0,7.47,6.7V8.33a2.61,2.61,0,0,0,5.21,0V6.7A2.59,2.59,0,0,0,10.07,4.2Zm1.66,4.13a1.66,1.66,0,0,1-3.32,0V6.7a1.66,1.66,0,0,1,3.32,0V8.33Z"/>
</g>
</svg>
Resources
- http://blog.cloudfour.com/our-svg-icon-process/(external link)
- http://fvsch.com/code/svg-icons/how-to/(external link)
- https://css-tricks.com/lodge/svg/(external link)
- https://www.viget.com/articles/5-tips-for-saving-svg-for-the-web-with-illustrator(external link)
- https://css-tricks.com/gotchas-on-getting-svg-into-production/(external link)
- http://stackoverflow.com/questions/13236365/optimal-settings-for-exporting-svgs-for-the-web-from-illustrator/13238555#13238555(external link)
- https://medium.com/sketch-app/harnessing-vector-awesomeness-in-sketch-3c9621408138#.nz1ks5lsm(external link)